If you decide you are interested in trying Zaption, you can sign up for a free basic account and then decide later if you want to pay the $79/year for a premium account. After you signup, you'll be prompted to create your first tour!
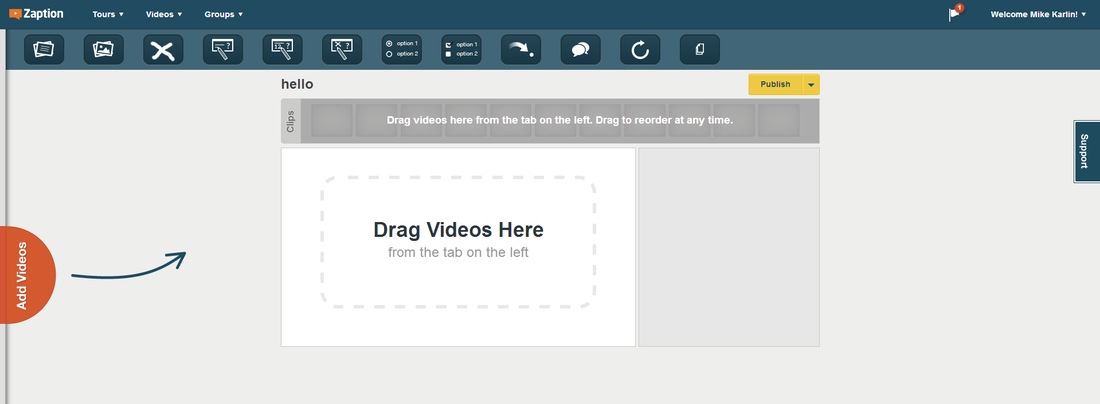
You'll need to give your tour a name (which you can change later) and then you'll be at the main editing screen. From here, you can drag in new videos, questions, response prompts, discussions, drawings, images, or anything else you want to add to make your video more interactive!
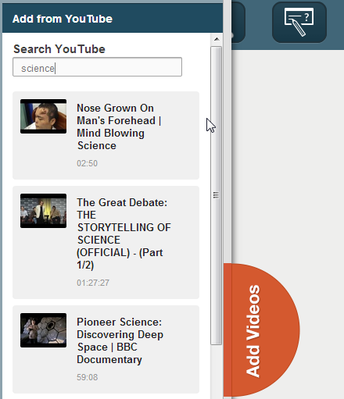
The best way to start is by adding a video you want to use. Click the orange "Add Videos" tab on the left and then you'll be able to search YouTube, Vimeo, or upload your own videos Once you find the video you want, you can drag it into the editing area.
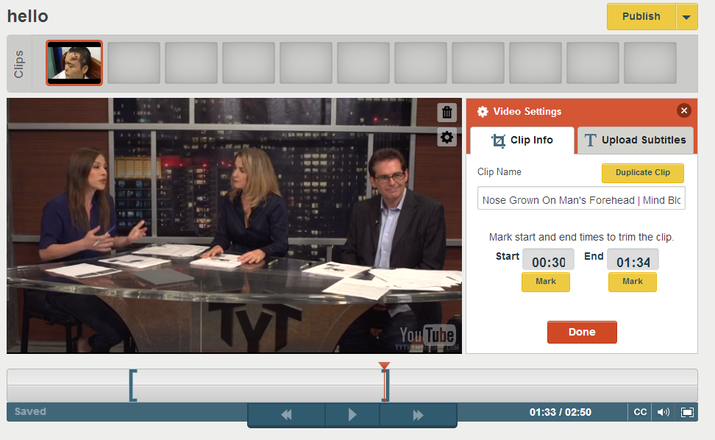
Before you start adding questions and response prompts, you can also trim your video, in case you don't want students to see the whole thing. Click on the "gear/settings" icon at the top right of your video and then you'll be able to mark where you want the clip to begin and end. If that's confusing, here's a great video tutorial from Zaption on how to do it.
You can also duplicate the clip from the same screen, in case you want to have a variety of clips from multiple parts of the video.
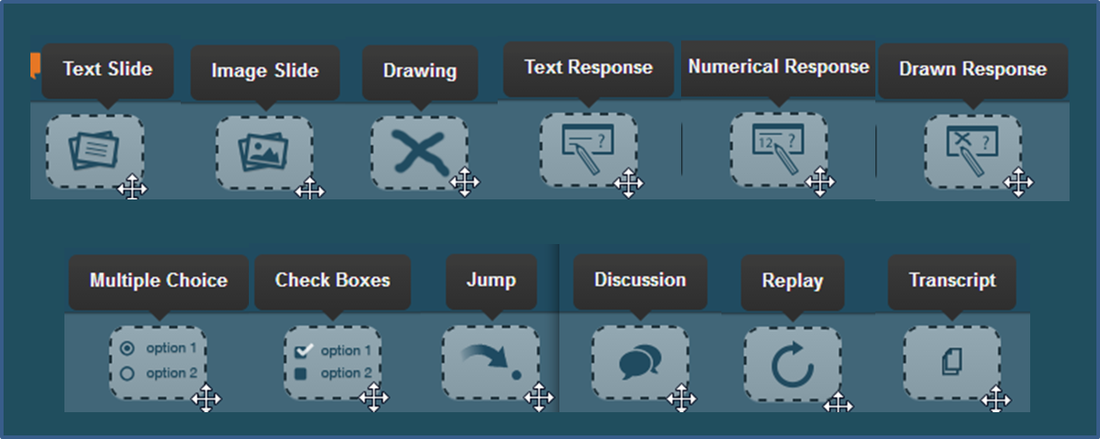
Once you've got your video trimmed down, and added any other videos you would like to use in the tour, it's time to start adding questions and response-prompts! There are a total of 12 different elements you can add to your tour:
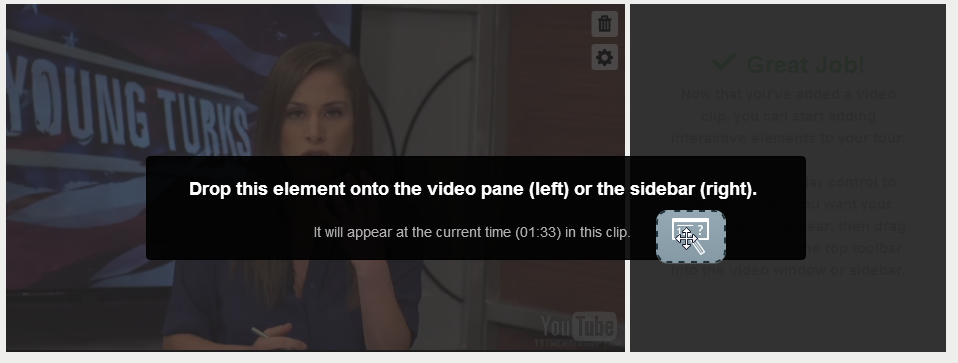
To add an element, simply drag it into the editing screen and that's it! Zaption will prompt you for whatever information you may need to add, but it's all really easy to use.
I think the elements are all pretty self-explanatory, but if you have questions you can always send me a message or check out their video tutorials. The only one that might not make sense is the "Jump" which can be used to skip or jump over a portion of a video.
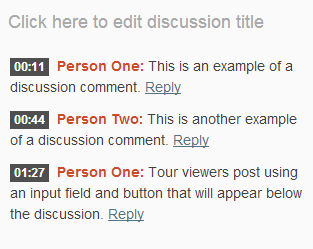
They really have some great element options, aside from the expected multiple choice questions and text responses. The discussion element is great for getting students to talk and interact about the video content, and I really like the drawn response also (check out the example tour at the top for a good example of that element in action).
Once you're finished creating your tour, just click the yellow "Publish" button at the top right and you're good to go! You can share the link with your students, or if you have the classroom account, you can create a "group" to manage your class, record analytics, and get a better idea of how your students are interacting with the content.
So there you have it, that's Zaption! Overall, it's a great program at an incredibly reasonable price and the perfect tool for flipping classes and making video more interactive. I love the huge variety of elements they offer and there are a ton of possibilities for making video content more engaging and educational.
The site only launched a month ago, but already they've proven to be a valuable classroom asset with a ton of potential. If you're still not sure, I'd recommend giving the free trial a try and see what you think!









 RSS Feed
