
Project Pals is an excellent collaboration platform that schools can use for all types of student-centered learning activities, including project-based learning (PBL). Project Pals provides an online space where teachers and students can collaboratively work through projects, so long as they have a device with an internet connection. Teachers can get started with a free plan that includes up to 20 projects and 50 students, which is a great way to begin exploring the resource in your classroom.
Before jumping into the review, here is an introductory video of Project Pals from their team:
In general, research suggests that PBL and student-centered learning environments can help increase motivation, engagement, and retention. However, these types of environments can also be challenging to setup, and often end up requiring significant amounts of work from the teacher to organize and facilitate.
Project Pals is designed to help make that process easier, specifically for 3rd - 12th grade students. Teachers can use already created PBL lessons to implement, or that can revise and remix existing lessons. These lessons are all CCSS standard-aligned, and are easily searchable. Or, if teachers want to start from scratch, they can use Project Pals to host their originally created lessons as well. Here is an overview of the platform that provides additional details on what this process looks like:
Overall, Project Pals is meant to offer an end to end solution for PBL and student-centered lessons that covers: planning lessons → collaborating on lessons → monitoring and responding to student progress → presenting final products. Project Pals is an efficiency tool, but it is also designed to help students structure their problem-solving process.
When teachers first login to Project Pals, you’ll be presented with an in-app tutorial that will help guide you through a sample training project. I think this training is helpful from a technology standpoint (i.e. learning how to use the tool), but I also think it’s really helpful for teachers who may not be as familiar with PBL. It provides a great introduction and overview to PBL ideas, and guides new users through how to setup and implement lessons from within the Project Pals platform.
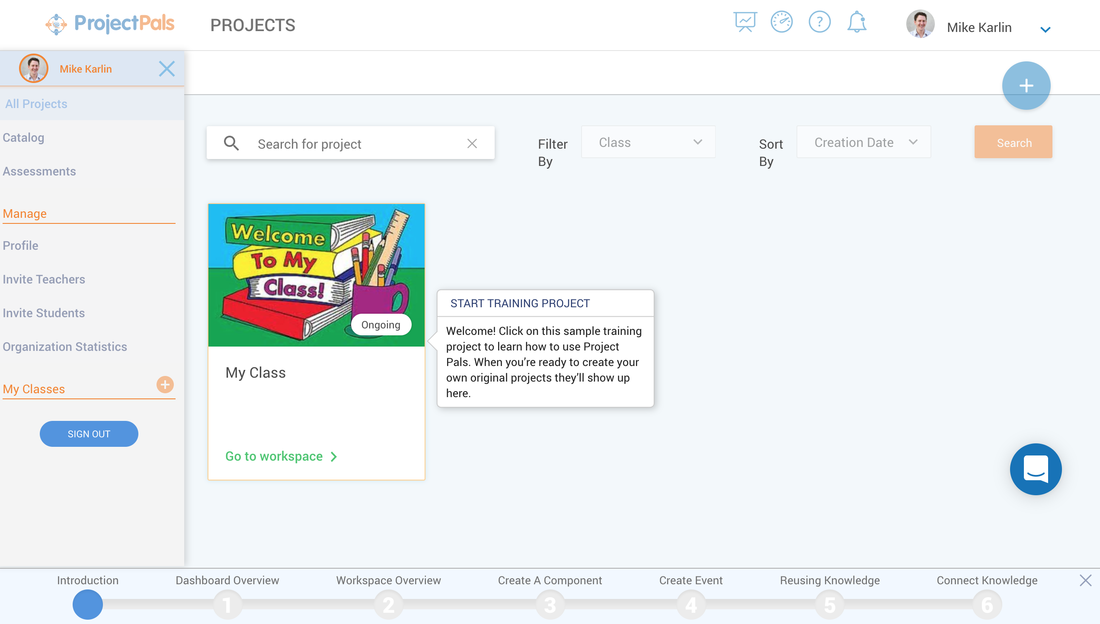
Once you’ve completed the introductory tutorial, you’re ready to start creating projects (or remixing already existing projects from the catalog).
As mentioned above, if you don’t want to create a lesson completely from scratch, you can access Project Pal’s catalog of existing, exemplar lessons. Here’s an example of one on the topic of “Why are honeybees disappearing” that would be a great fit for a science classroom:
Once you’ve created a project, or found one that you’d like to work with, you can add your student groups. Project Pals integrates with Google and with Google Classroom, so it’s easy to import your students if you’re a Google School.
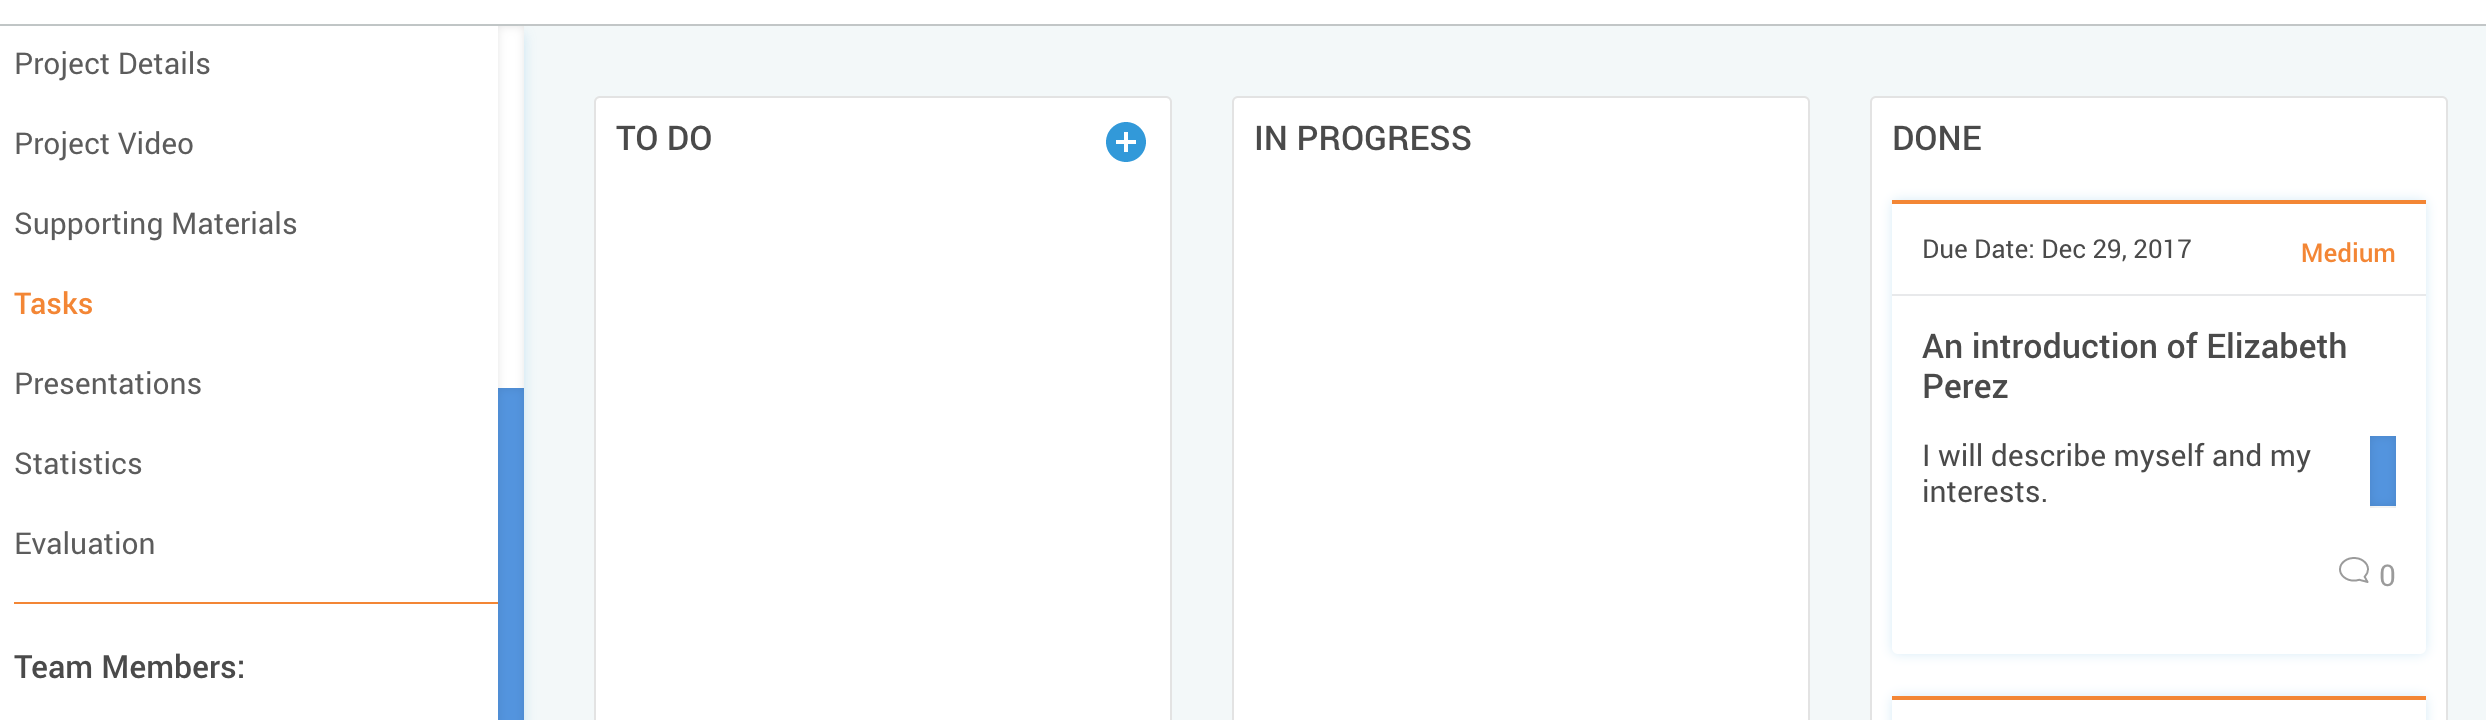
When you’re creating your project, you’ll also be able to upload instructions, files, or anything else students might need while working through the project. The side tabs of your project dashboard will let you update the project details, add videos, provide supporting materials, include presentations, and decide on evaluation measures (by creating or using an existing rubric).
There’s also a “tasks” option which lets students and teachers keep track of the various project-related tasks as they move through the lesson. This is meant to model what students will encounter in the real-world, and helps students build task-management skills.
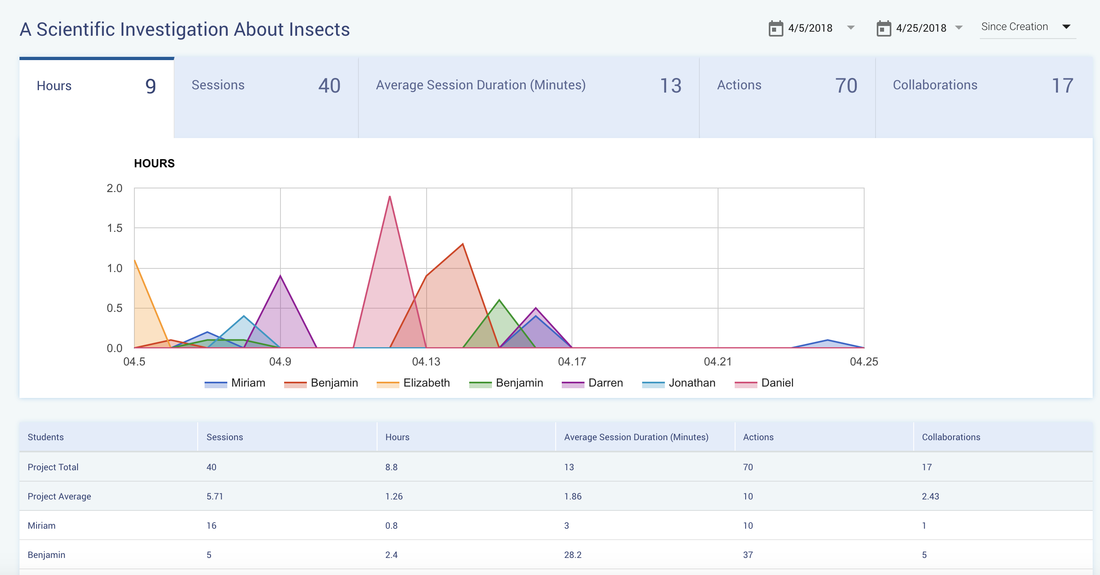
Also on your home dashboard, you’ll be able to see all the different projects you’re managing as well as one of my absolutely favorite features: the team activity. Project Pals keeps track of the different tasks students complete, and the time they spend working within Project Pals. It’s a really excellent way for a teacher to quickly see if some group members aren’t contributing as much as others. While it isn’t a perfect metric (it doesn’t include time spent outside of Project Pals), it does do a really excellent job of keeping track of all tasks and items that students accomplish. Given how difficult group work can be to manage and facilitate, I think this feature is enormously beneficial.
For teachers who have the Plus plan of Project Pals, you’ll soon have the ability to be able to see student, group, and class progress towards any specific CCSS you have linked your projects to. This is a helpful way to get instant analytics, reporting, and standard-related metrics that your school and/or district might need. This featured is planned for release in 2018.
The other area of Project Pals to explore is the “Workspace” which is where students will actually be doing the work required by the project. Each project within Project Pals has both a dashboard (discussed above) and a workspace, which is essentially like an interactive whiteboard that is updated in real time. This is a great space for collaboration, and multiple students can all be working in the workspace at the same time (similar to a Google Doc).
Across the top of the workspace, you have 5 tabs. These tabs represent the different components or steps of the problem a student group is working on solving. They can be renamed to anything you want in order to organize the problem-solving process, however the default is: questions → components (nouns) → events (processes, verbs) → relationships → analysis.
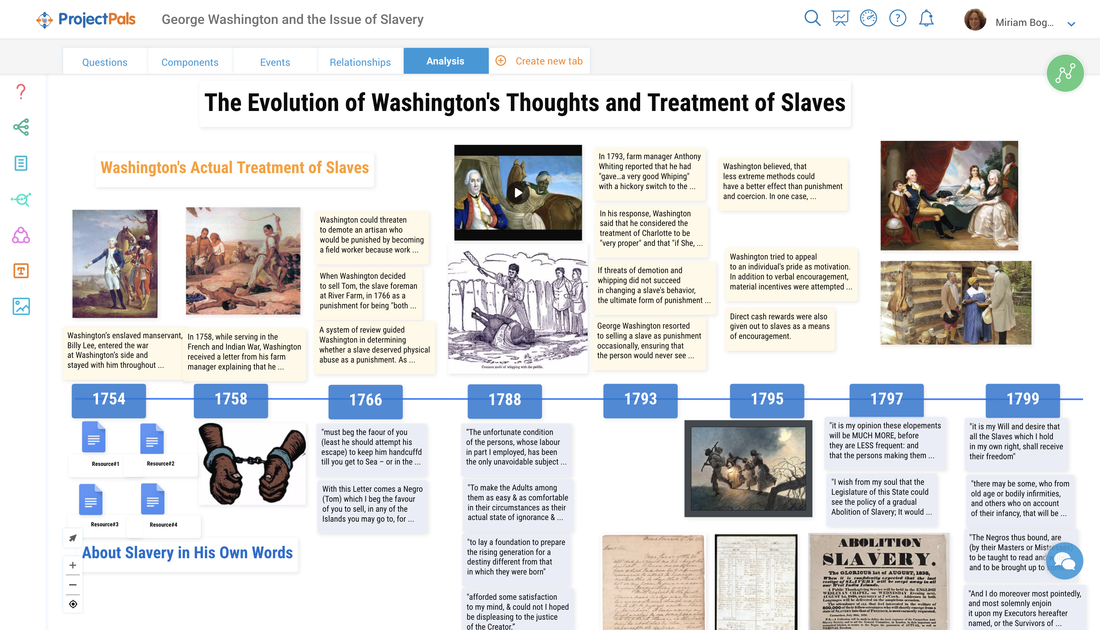
Each of these tabs is meant to help guide students through part of the problem-solving process. On the side of each workspace are content creation tools, where students can add text, media, questions, or components. Teachers can also add as much or as little scaffolding as they would like here, to help the students with their problem solving process.
In general, the questions tab is meant to cover the driving questions, and general questions that students have about the problem. The components tab is where students can breakdown the problem and questions into their respective parts. The events tab is perfect for creating timelines, procedures, processes, plot outlines, or anything along those lines. The representation tab is where students can create mind maps, graphic organizers, and can reuse the contents and components they have already created to begin exploring relationships between ideas and creating external representations of their understanding. Finally, the analysis tab is where students can pull everything together, and show their big picture findings and understandings related to the problem. You can also read more about this approach here if you’re interested in additional details.
Overall, I absolutely love this process and the way Project Pals has designed the workspace. One of the biggest barriers to PBL is the amount of scaffolding and support that students need during the problem-solving process. By designing Project Pals in this way, students can get support from the teacher, work collaboratively, and have an organized, structured way to move through the problem solving process. The video below shows more about what this process looks like in action.
Finally, once students have completed these steps, they can use the presentation tool to showcase their work, defend their arguments, and/or present their solution to the problem. The great thing about using Project Pals built-in presentation tool, is that you can easily import any of the material you have created previously in the workspace.
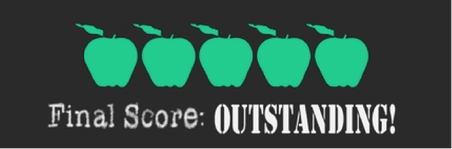
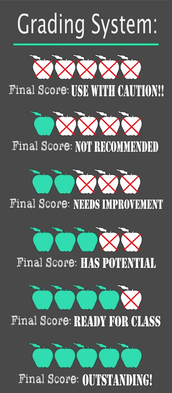
Overall, I’m a huge fan of Project Pals. When I was teaching 9th and 10th grade biology, I used to do a variety of PBL lessons, and they were always my favorite part of class. However, keeping things organized and on-track, while also providing support and scaffolding to all my students was always a significant challenge. I wish I had access to Project Pals when I taught biology, because it would have been an enormous help not only for myself, but for my students’ learning as well.
For teachers who currently implementing PBL lessons, or for those who would like to move towards more PBL and student-centered lessons, I absolutely recommend Project Pals. You can sign up for a free account and test it out for your classroom!
The opinions expressed in this review are my own.
I was not compensated for writing this review.
I was not compensated for writing this review.


 RSS Feed
