Then, you can paste that picture anywhere you'd like (word, powerpoint, or pretty much anywhere that let's you paste). And for some people, that may be all you need. But, if you're ready to take your screenshots to the next level, may I recommend...
So with GreenShot open, when you hit "Print Screen" you'll get a cross-hair selector that lets you choose the region you want to take a picture of. (If you ever want to get out of that selector, just hit the Escape Key)
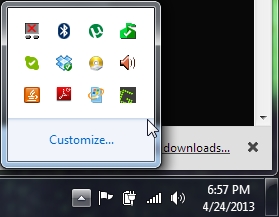
You can set GreenShot to open when Windows starts or to wait until you open it. If you're having trouble finding the program once it's running, check in your System Tray at the bottom right hand corner of your screen:
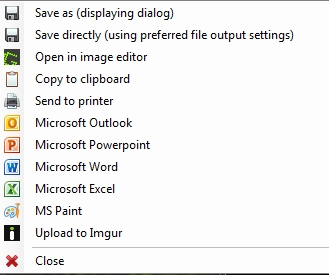
So, now that you've found the program, got it running, and you've taken your first screen shot, you'll find you have a TON of options:
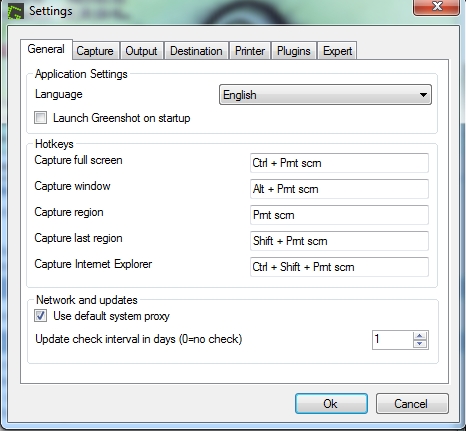
And if one of the features isn't exactly the way you want it, you can customize everything in the preferences. From the timing of the screen shot, to the printer settings, to the output destination, they let you tweak it all.
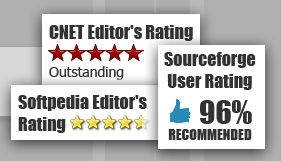
So, to wrap things up, GreenShot is an excellent addition to your tech toolbox. If you are going to be taking screenshots for any type of project or lesson, I highly recommend checking this program out! [GreenCast.org]










 RSS Feed
