
EduClipper is a relatively new web application that is often called the "Pinterest of Education." The free tool allows teachers and students to design and curate a digital portfolio of websites, documents, images, and videos. And, like Pinterest, users can follow others, comment on material, and interact at just about every level. It's a wonderful educational tool, so... let's check it out!
After you create your free account, verify your email, and login, you'll find yourself at the home screen. Educlipper will automatically fill your screen with articles, links, and pages that fit your subject area, and you can start browsing and clipping right away.
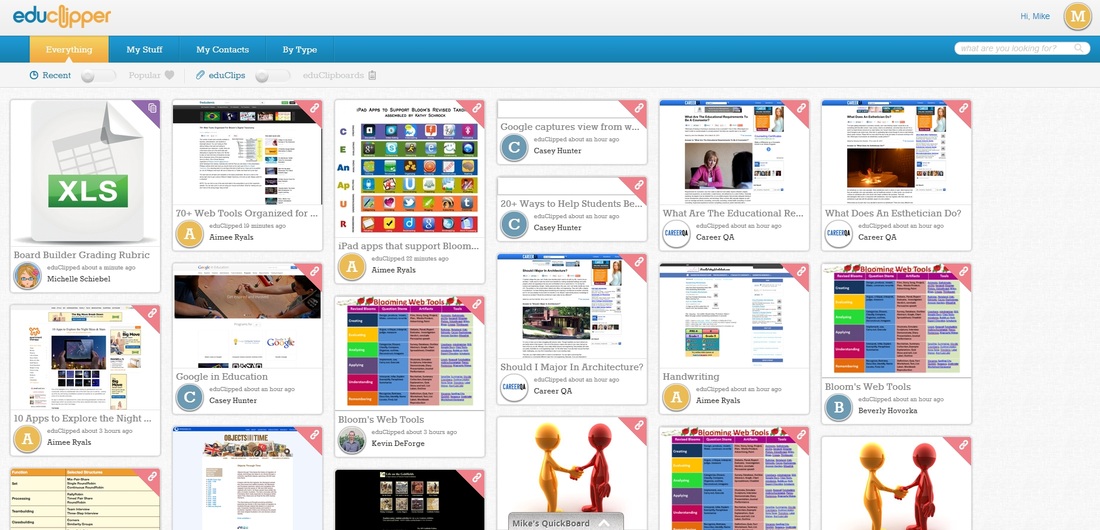
The EduClipper Home Screen
If you've never used Pinterest before, this all may seem a bit confusing at first. Basically, all of these boxes are "clips" that other users have found useful for interesting. They may be articles from webpages, they may be documents they've uploaded, or they may be some other form of digital content.
The idea behind EduClipper is to create a collection of digital material that you find useful. And, what's really great about EduClipper, is that once you have a collection (or "clipboard") it's incredibly easy to share that material with your students.
Imagine you're a middle school English teacher and you're studying existentialism (OK, so maybe you're a high school English teacher). And you've found a great collection of webpages, articles, writings, reflections, and so on, that you want to easily share with your students.
Well, this is what EduClipper is perfect for. You can create your clipboard, put all of that digital material on it, and then share it with your kids. Then, your students can read the material, comment on it, interact with you and each other, all through EduClipper. It's a pretty wonderful tool.
OK, so now that we're on the same page, let's keep exploring the features...
While you're browsing through all these clips on your home page, you can click on any that seem interesting and you'll pull up the full article or image or whatever it is. From there, you can comment on the clip, share it, like it, follow that user, and even get a citation!

From here you can ReClip the post, Share it, and a whole lot more!
While you're browsing you also have the option to view the most recent content, or the most popular content. And you can view individual clips, or entire clipboards (collections of clips). Just use the toggle buttons at the top left to easily choose.

Choose the types of clips you want to see
Clipboards are nice because they contain a collection of digital material all on the same subject. You can use the toggle switch (from above) to find clipboards, or when you use the search box at the top right, you have the option of searching for clips or clipboards:
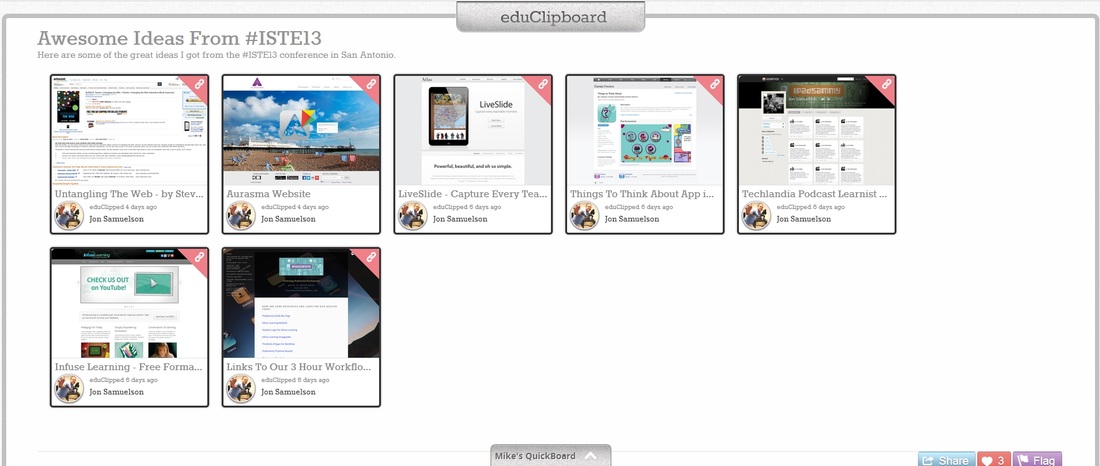
An example of a Clipboard
Another great feature is that if you only want to search for websites, or if you only want to see images, or videos, or documents, you can click on the "By Type" tab and select exactly what you're looking for.
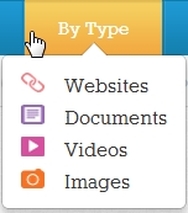
Narrow your search
So, that's the basics on browsing and looking through other people's material, but if you click over to the "My Stuff" tab, you'll notice it's still sad and empty...
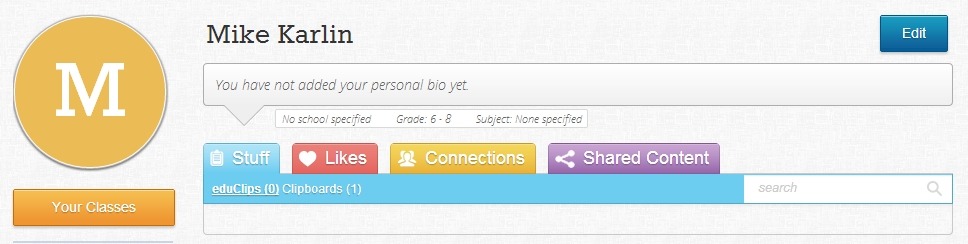
Eagerly waiting to be filled with great content and connections
If you're looking to set up a clipboard that will be used with your students, this is the place to do it. On the left, you'll see "Your Classes." If you click on that, you'll be taken through a few easy steps to get your students connected.
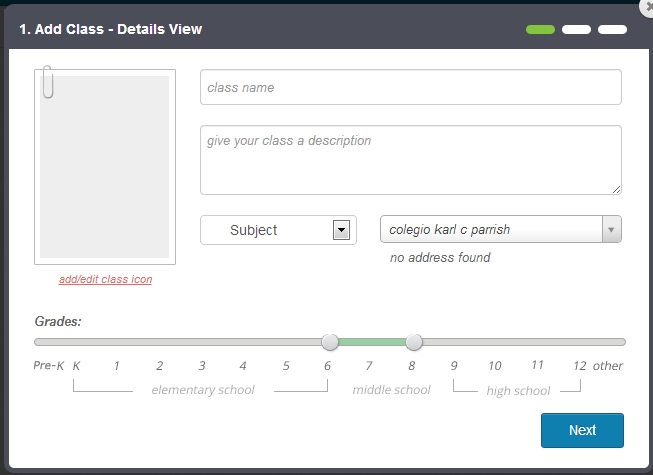
The first step to getting your students connected
After you enter in your class details, icon, subject, and grade level, the next screen will give you a few options on how to get your students connected. You can either upload a roster with your students' names and information, or if you want to have the students create their own accounts, you can get an access code that they'll enter when they sign up.
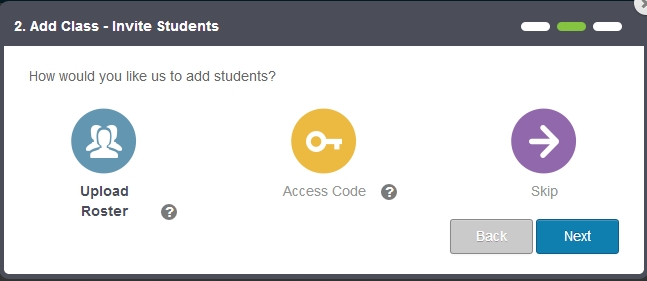
Choose how your students will connect
And as far as setting up your class goes, that's it! Super easy! So, now you know how to browse and how to get your classes set up, let's take the final step and learn how to add your own content and create your own clipboard.
One of the easiest ways to do this is to to click on the grey clipboard tab at bottom-center of the screen (it'll have your name on it too). When you click on that it will pull up your clipboard and then you can just drag in any content that you want to add:
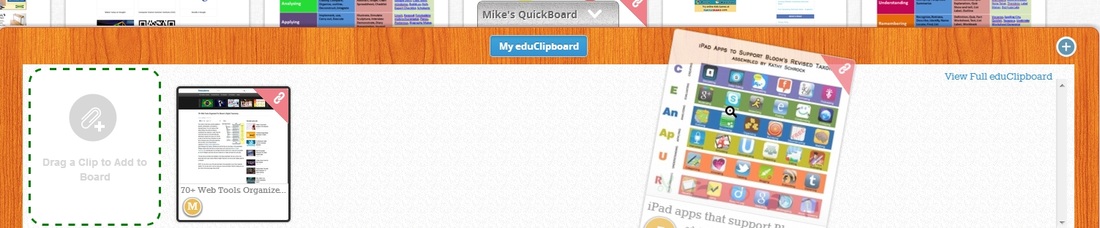
Drag in content to add it to your clipboard
So that's if you want to add content to your clipboard that already exists on the site. But, if you want to add new content (like a website, or something from your google drive, or to upload content from your computer) you can click on the "+" on the right side of the screen to add new material.
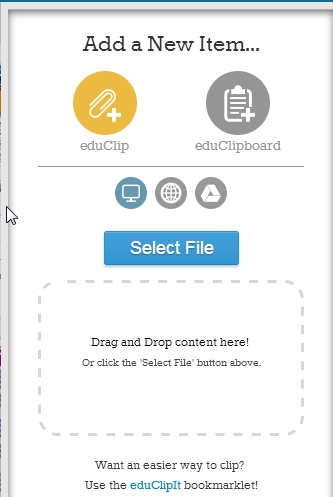
Add your own content
And if you're worried about space, every account is given 1GB of free storage, so you should have plenty of room. One other option for adding content is to install the EduClip It bookmarking tool for Google Chrome (if you're using Chrome to browse the web...) This tool let's you easily clip and share anything you find on the internet.
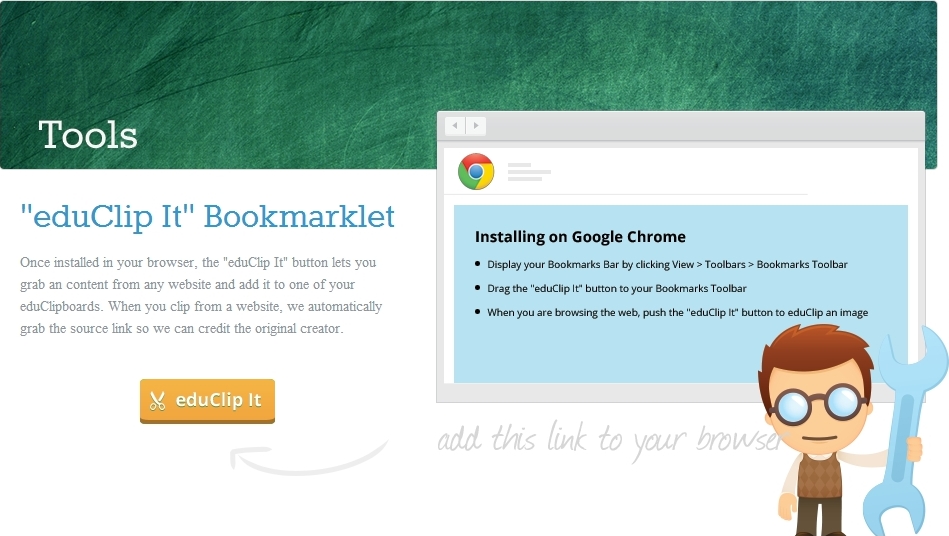
Use the EduClip It Bookmarklet tool to share what you find on the web
And that about does it! If you're ever lost, or looking for your profile information, or for your settings, just click on the circle with your initial at the top right and you'll find your options:
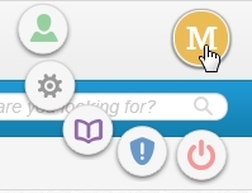
Options and Settings
So now you're all ready to create your own EduClipboard, fill it full of awesome digital content, and share it with your students!
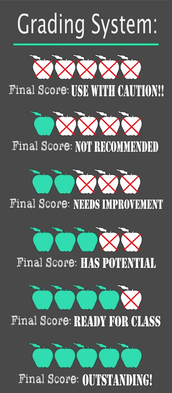
Overall, EduClilpper is an oustanding application, especially considering that it's free, and it has some serious classroom potential. You could easily integrate EduClipper into any subject at the elementary or secondary level and it's the perfect tool for organizing, sharing, and discussing digital content. If you've got some free time this summer, check it out!


 RSS Feed
