
EDpuzzle is a wonderful free app that you can use to make video content more interactive by adding in things like multiple-choice and open-ended questions. I’ve been using EDpuzzle for a while now with the preservice teachers I work with, and although there are similar services out there, this one has always been my favorites. Let’s take a look at how you can get started transforming your video content!
Before jumping into the review, here’s a short overview video so you can get a better idea of what EDpuzzle is all about. I should also point out that there are TONS of support videos throughout the app, so if you run into trouble while creating your interactive videos, rest assured that there is a helpful tutorial waiting for you.
Each EDpuzzle assignment starts with a video. This can be one that you’ve found online, or one that you upload yourself. If your school does block YouTube, that’s OK! You can use other streaming sources like Vimeo or TeacherTube, or you could download the video using something like KeepVid and then upload it to EdPuzzle.
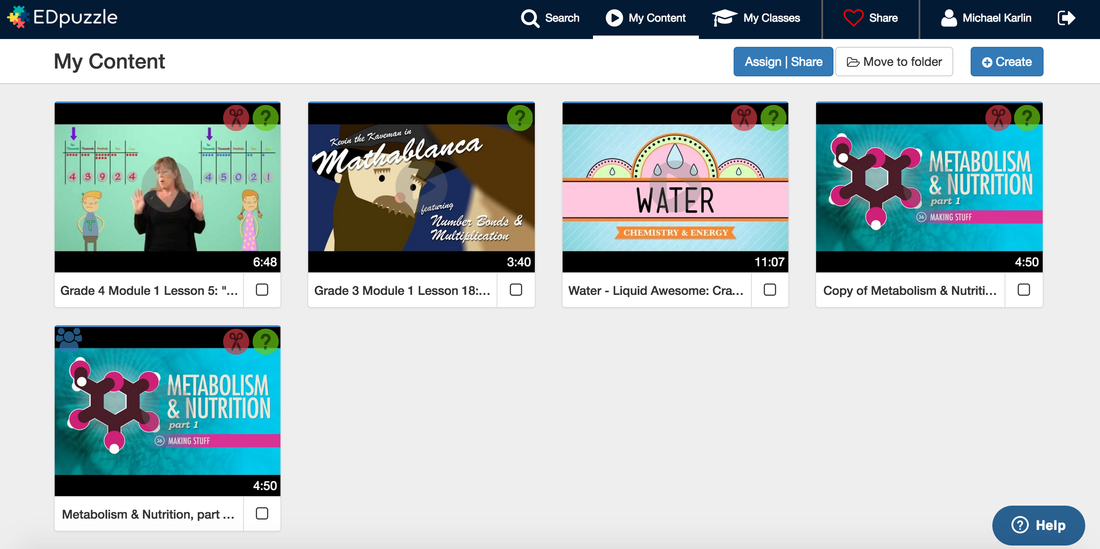
Once you’ve got the video in mind that you want to use, and you’ve created and logged in to your free EDpuzzle account, you’ll want to click “My Content” at the top and then choose to Create a lesson.
If you’d rather start with a video that someone else has already created, you can do that as well! Just use the search bar at the top to find what you’re looking for. You can even copy other teachers’ lessons into your account so you can customize them to your liking.
If you’re starting from scratch, once you hit create you’ll be taken to a screen where you’ll need to decide what video you’re using (unless you’re uploading your own). You’ll see all the public video databases on the left (i.e. YouTube, Khan Academy, TED Talks, etc.), or you can just use the search bar to search for a topic or enter the URL of a video if you already know it.
Once you find the video you’re looking for, just hover your mouse over it and click Use It to be immediately taken to the video editor where you can add in your interactive content.
If you’re using a video that has already had content added to it, you’ll see that content under the video. You can click on any question/comment to edit it or delete it:
In general though, the first step you’ll want to take is to crop the video. Use the two red slider bars to set the endpoints for where you want the video to start and where you want the video to end. This is a great and simple feature so your kids don’t have to worry about fast forwarding or finding the specific second where you want them to start a video.

Once you’ve trimmed the video down to the length you want it, you can click on the microphone at the top center to add in an audio track. During any of these steps, if you run into trouble, you can click on the “Show me how” link on the right side to see a quick tutorial on each feature.
For the audio track, you can click the mic next to the play button to begin recording. This feature would be useful if you want to add any of your own narration over what already exists in the video.
For example, if a video is mainly music, or doesn’t have any narration, this could be a great time to add in your own audio content. An important note here, you do have to record your audio notes over the entire clip in order to save it (as pointed out in their tutorial).

After you’ve added in any audio narration that you want to, you can click on the speaker button at the top to move onto the third step: Audio Notes.
Audio Notes will cause the video to pause while a student is watching it and play whatever note you recorded. This can be a great way to re-explain a concept, add in a question, remind the students about something you talked about in class, or anything else where you might want a short break to talk to the students.
Move the playhead under the video to where you’d like to add in the note, then click on the microphone to begin recording. When you’re done, hit stop and your note will be added in:
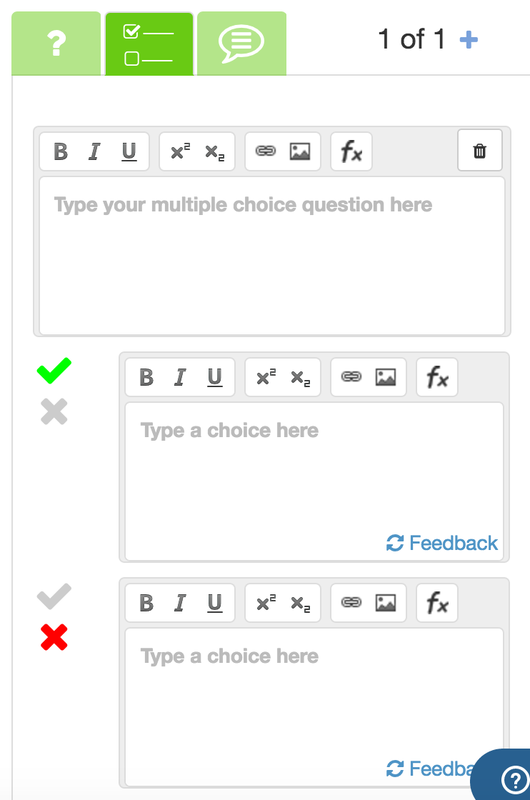
Finally, you can click on the ? at the top to move on to the final step and add in any questions that you’d like. For me, this has always been one of the most powerful features. These questions are a great way to keep students engaged in whatever video content they’re watching. They can also be used to check for understanding and collect formative and summative assessment data.
Similar to the audio notes, just move the playhead to where you want to add in your question, click on the big question mark, and select what type of question you’d like to add. You can add in open-ended and multiple-choice questions as well as just a text comment. For the open-ended and multiple-choice questions you can also add in feedback for your students when they get it right or miss it.
When you’re all done, just hit Save and Finish and then you’ll be able to share it out with any classes you’ve set up, or anyone else that you’d like to. You can also choose to not allow students to skip during the video and assign a due date here if you’d like to.

Speaking of classes, in case you’re wondering how to set those up, it’s easy to do so! From the home screen, you can click on My Classes at the top to set up any different classes that you might be teaching. On the left side, just to choose to add in a new class, or if you’re using Google Classroom you can import your classes directly from there.
Once you’ve got your classes set up, click on Invite your students at the top right to get a custom link and class code that you can send out to your students. You can also push the link out directly through Google Classroom here as well.

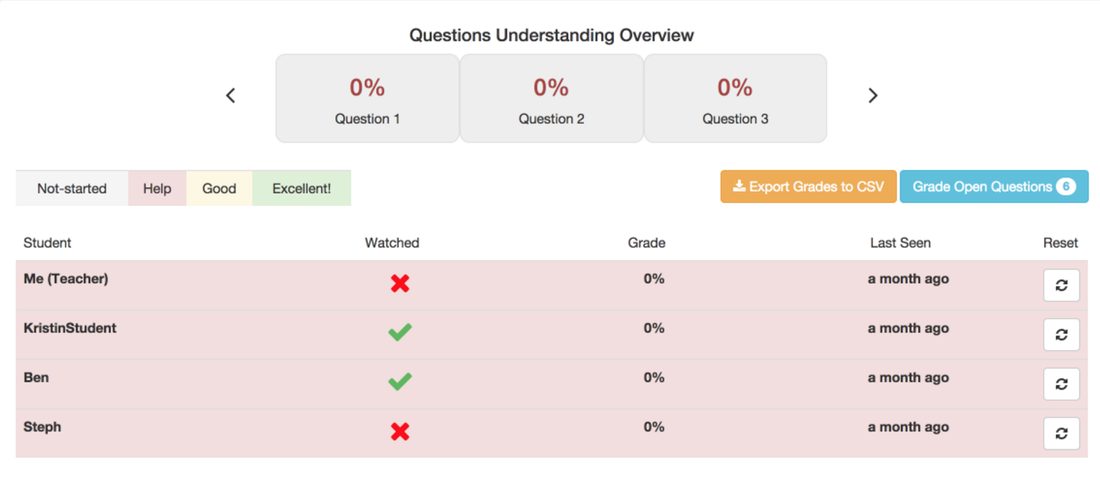
After your students have joined in your classes, you’ll be able to track their performance and activity with each video, as shown in the introductory video at the top of this review. You can see how long each student spends with each video and how they do with each question/assignment you give.
And in a nutshell, that’s EDpuzzle! It’s an excellent tool for transforming standard video content into more interactive and engaging lessons that can be used to collect assessment and performance data from the students in your class.
Plus, EDpuzzle works on tablets, mobile phones, and any internet-enabled device. So as long as the students can access the video, you’re good to go.
And, if you were a Zaption user (which has been bought out and is no longer in action), you can import all your old Zaption lessons directly into Edpuzzle by going to: edpuzzle.com/zaption and logging in with your Zaption credentials. Here's a tutorial for that as well.
Overall, EDpuzzle is an excellent resource for the K-12 classroom and the fact that it’s completely free makes it even more worthwhile. If you’re looking for a way to spice up your video content by adding in narration, audio notes, and a variety of question types, EDpuzzle is absolutely worth trying.

The opinions expressed in this review are my own.
I was not compensated for writing this review.


 RSS Feed
