CodeCampKidz offers the first level of projects for free and has premium plans that advance to higher levels. Let’s check them out!
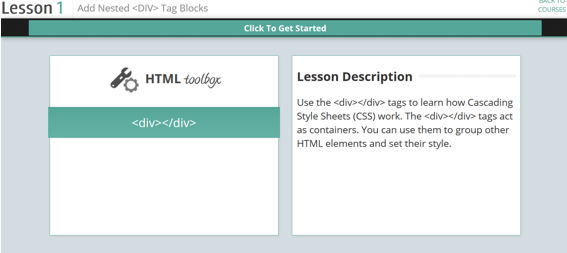
Next, let’s let's examine their 3 step learning sequence that they follow for each activity. The first step in the sequence is the “Flash Card” lesson instruction. Rather than having paragraphs or videos of multi-step instructions, they break each project down into small incremental steps and only “spoon feed” it out step by step. In the example picture below, the <div> tag is being used in the lesson and a brief description of it is presented before immediate immersion in code writing.
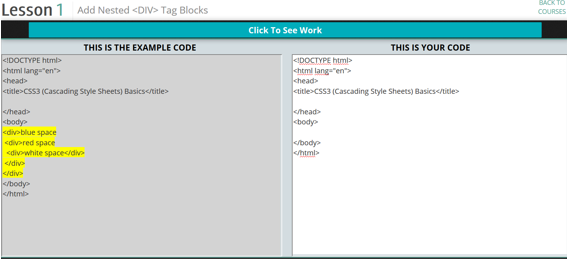
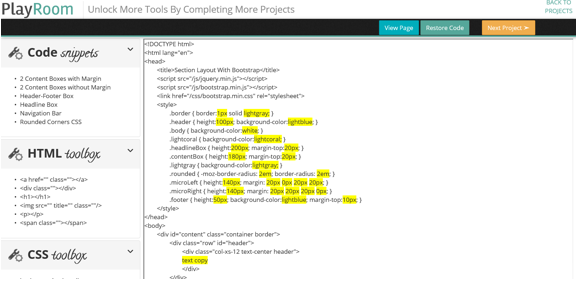
The second step immediately uses the code the students have learned to begin building a page. There is a major focus in the site on writing actual code, and throughout the lessons that is where you find the bulk of the focus. When the “work area” screen loads, the code is presented. Highlighted example code demonstrates how the code should look when the student finishes typing.
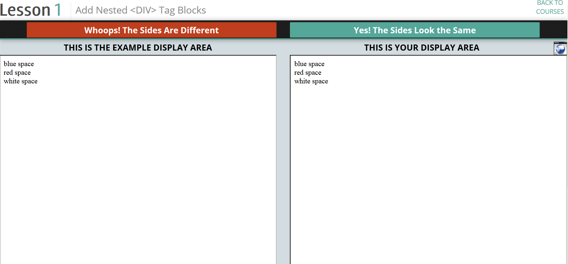
The third and final step was visually comparing my work with the example. This helps the learner to determine if they have successfully completed a particular step.
I found the 3 step lesson delivery format to be very practical overall and the majority of my time was spent actually writing code and comparing my work to the example. I also appreciated how I could see my project being constructed piece by piece as I added in new code. This helped to add context to the lessons and produce a tangible final product.
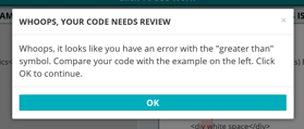
I also liked the code checker which points out any errors made along the way, and makes it easier for students to find their mistakes if they have any.
When I finished all the lesson steps, the code techniques I learned were added to the “Toolbox” in the Playroom. That is the where you can play with new or existing code and see the effect on the app page. While students are working in the toolbox they can click on any pieces of code to insert the snipped wherever they want, rather than having to retype it.
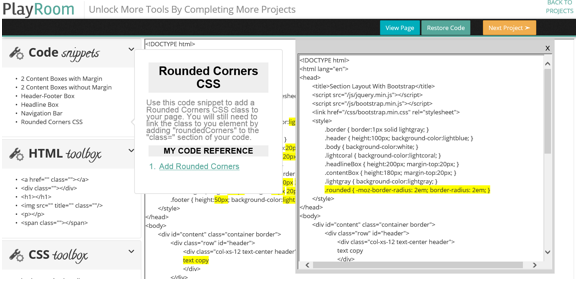
One of the features I really liked in the Playroom was the reference window which showed previous code I had written. It is designed to make it easier to remember how to use the techniques from previous lessons. Since it opened in a separate window I was able to copy over the code and structures I needed to complete my tests.
If you would like to see the site in action, you can watch this brief 1 minute video introduction from the team. It does a pretty good job hitting the highlights and giving you a feel for the student experience.
With all that being said, my primary initial concern is the fact that the main activity is looking at example code and copying it into "your code." At first I had my doubts about this, as students would just be copying and pasting code without really understanding it. But the way the lessons are structured, and the instruction that is given, definitely helps the students learn about the functions of the different pieces of code as they continue, so I don't believe this would be a long-term issue.
My only other worry would be the vocabulary, which would definitely be out of reach for a lot of late elementary, early middle school students. It would be nice to see simplified versions of terms, or the use of metaphors, or some strategies to help make the complicated vocabulary more understandable for early learners.
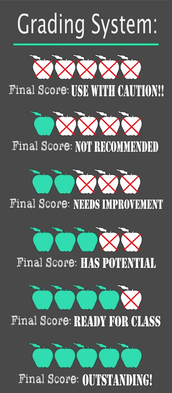
Overall, I think CodeCampKidz would be a great tool to get students started with coding. It has a good design, and they offer a lot of practicality and features that free coding programs don't have, so I would definitely recommend checking out the free content and seeing if it is a good fit for you, your students, or your children. With all that in mind...
The opinions expressed in this review are my own.
I was not compensated for writing this review.











 RSS Feed
