Essentially, Animoby allows you to create presentations & lessons using drawings, images, and voice recordings. You can send these lessons out to your students and they can watch them online or from any mobile device with an internet connection. It's an excellent way to offer instruction outside of the classroom.
On the flip-side, if you have access to iPads in your classroom, you could also have your students create presentations using Animoby and then share them with their peers. It would be an excellent activity to have students demonstrate their understanding of a topic.
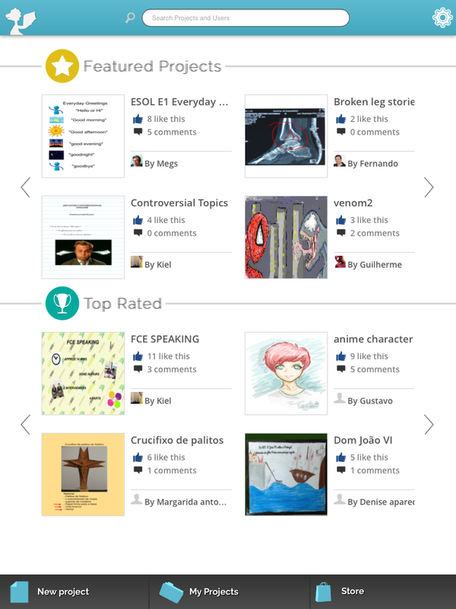
When you first open Animoby, you'll be presented with a gallery of new and featured presentations. This is one of the features I really like, and Animoby lets you browse all the work that others have already created.
To create your own presentation, simply tap the "New Project" button on the bottom left and you'll be ready to get started.
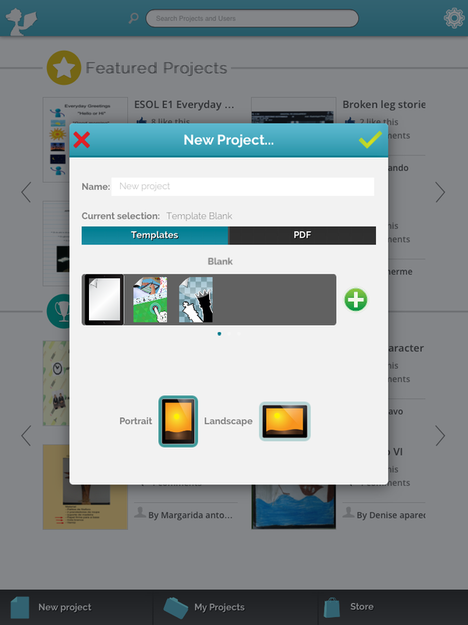
When you begin creating a new presentation you'll have the option of selecting a template, or uploading a PDF to use as your background. This is an excellent option if you've got a PowerPoint or other presentation that you want to import into Animoby. Simply save your presentation as a PDF, put it in your dropbox, or email it to yourself, and then you can open it in the app.
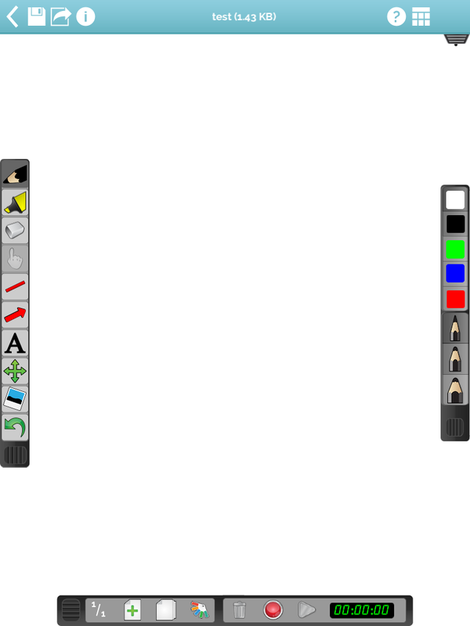
After you select the template/background you would like to use for your presentation, you'll come to the creation screen. From here you can add images, graphics, drawings, and basically anything that you want on the presentation before you start recording your voice and annotations.
Once you've added all the images and drawings and additional slides you want (you can add slides at the bottom with the + icon), you're ready to start recording! After you hit record, the background will lock and you'll be able to record your voice and any drawings/annotations that you want to add to the presentation.
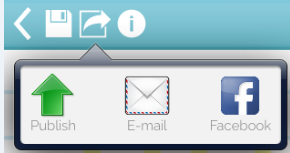
When you're all finished recording, you can publish your work to the Animoby site (so students can view it online), send it out via email or through Facebook. In my mind, the easiest option is just to publish the presentation and then your students can access it on the Animoby site from any device with an internet connection.
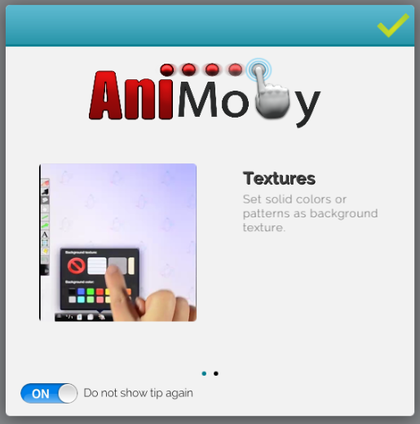
And that's the basics of creating a presentation in Animoby! The final feature that I really like is that when you first click on a tool, a short tutorial/explanation will pop up and explain how the tool works.
As I mentioned at the beginning, Animoby also offers a Pro version (for $7.99). The big difference is that the pro version will let you record for an unlimited length of time. With the free version you're only given 2 minutes to create your lesson. Also, with the Pro version you can set your uploaded presentations to "Private," so only people with the link can view them. With the free version, everything you upload will automatically be made public.
Animoby is also on the way for the iPhone and for Android devices, along with some new features that will improve social connectivity. But for now, the iPad version is looking pretty great. You can also check out their YouTube channel for some more tips and tricks if you find yourself having trouble.
My only suggestion for improvement would be to offer syncing with Google Drive. Right now users can sync with Dropbox, which is nice, but including Google Drive would be a big benefit, especially for schools and classrooms that are organized around Google.
Overall, whether you're using the pro or free version, Animoby is an excellent app that is great for creating flipped lessons in the classroom. Plus, if it's a possibility, it's also an excellent way to have your students create presentations! The interface is easy to use, you have tons of tools for creating presentations, and you can easily import PDF files to use as your background. In short...








 RSS Feed
